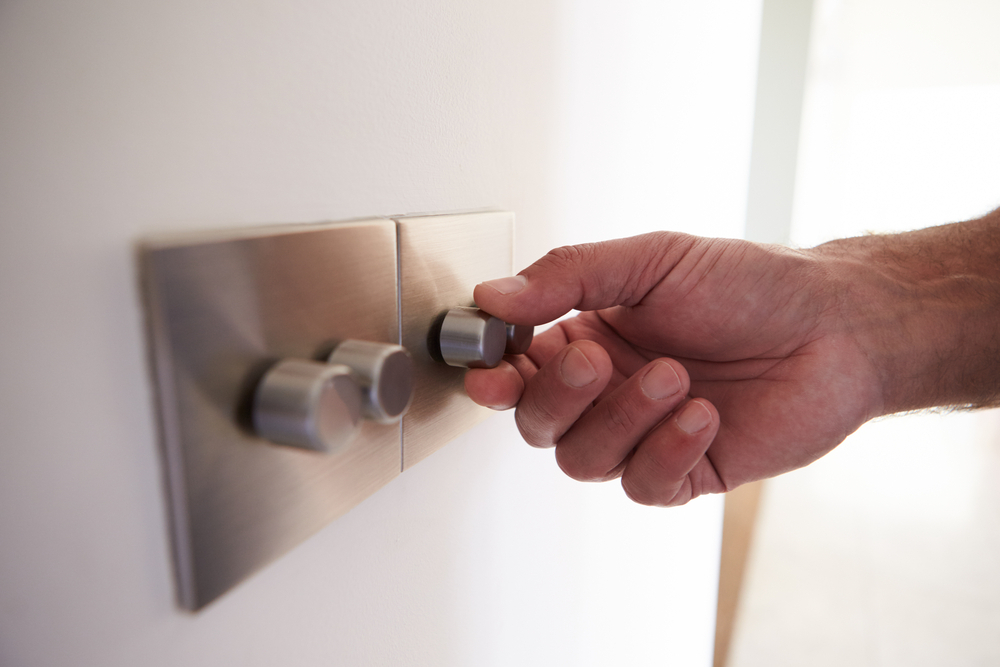
If you are looking to add an extra appeal to your home, one of the things that you can try is installing a dimmer switch.
Installing one is pretty simple, and the best bit is that they really make your room look comfy or bright, as per your requirement as the dimmer switch will allow adjustable lighting that you can make use of at different day hours.
Step by step guide on how to install dimmer switches:
Installing a dimmer is pretty simple and can be done in only a few simple steps, and even if you have no previous experience, there is no need to worry about it.
All you need is our manual on how to install a dimmer switch and some tools and parts such as a dimmer and a screwdriver.
Once you have all this here is how you can install it in only seven simple steps:
Step 1: Turn the power off
The first and the most important step is to cut off the power supply to the switch as it can lead to accidents.
For this, you can switch off the power that is being supplied to the circuit at the fuse box or at the circuit breaker.
Once you have turned it off, you can double-check to be on the safe side by either trying to switch on a light bulb, or you can use a voltmeter for this purpose too.
Step 2: Remove the switch and then remove the plate
This step is also pretty basic.
All you have to do is remove the cover of the switch first using a flathead screwdriver, and then you can use a head screwdriver to entirely disconnect the switch from the switch’s box.
Step 3: Set your switch up to install the dimmer switch
For this step, you are going to need to remove the old wires in the switch.
For this purpose, the simplest way is to use a screwdriver and to loosen the screws that are holding the wires.
Remember which colors were attached where because you will need that information to attach the new wires.
There are going to be three colored wires in the switch. One will be black, white, and one ground wire that is most probably going to wither green or copper in color.
Also, in order to keep the wires separated, the simplest way would be to bend them to opposite corners of the box, and also, if there’s a grounding wire, remove that one last.
Another thing that you need to take into accordance is that all light bulbs are not supported by all types of dimmers, especially if you have LED lights installed in your home. For this, you are going to need trailing edge dimmer switches that are particularly designed to be used for LED lights as they are LED compatible dimmer.
Step 4: Installing the dimmer switch
Now, as you saw earlier in the switch bin the above step, attach the wires in the same way to the dimmer switch now. Now tighten the screws to make sure that the wires are held in their places.
Step 5: Install the dimmer switch in the box again
Once the wires are attached and are in their right places, you can fit the dimmer back into the electrical box.
For any extra wires that you may find, you can gently fold and compress them to fit into the electrical box.
For this step, be careful that while you are pushing the wires into the box, they don’t squeeze because that way, they might break or loosen.
Step 6: Reinstall the switch plate again
Now once the dimmer is fitted perfectly into the electrical box, you can put the switch plate back into its original position.
For this, all you have to do is to put the switch plate back in its place, and they start by putting the screws back in and then tightening the screws.
Step 7: Turn the breaker or the fuse back on again and check the dimmer if it’s working or not
Once the cover or the plate is back in its place, you can turn the fuse or the breaker back on and then try adjusting the brightness of the bulbs. You will know if they are working properly or not.
Conclusions:
Installing a dimmer switch is a very easy task, and there is nothing to worry about here. All you need to keep in mind is to switch off the breaker or the fuse for your security and to make sure you don’t squeeze the wires while putting the box back in.
Also, make sure that the dimmer switch you get is compatible with the light bulbs installed in your home.


Comments 1