Table of Contents

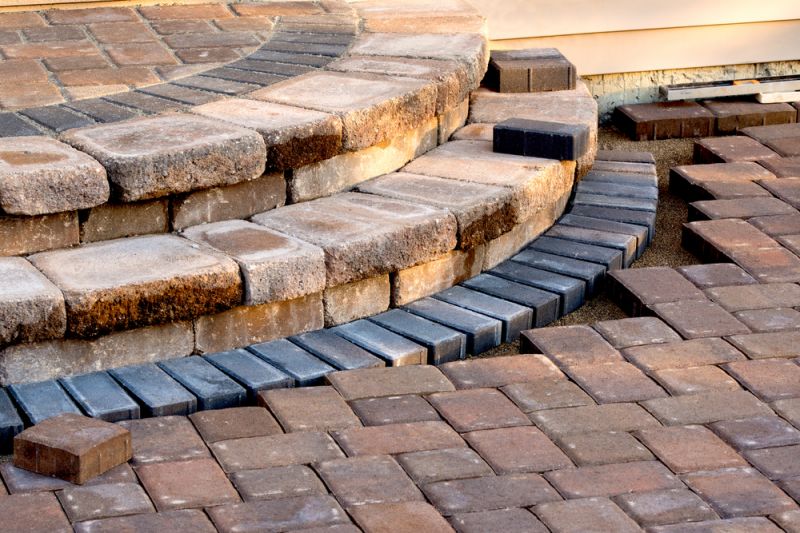
Pavers can enhance an elegant look to your landscape by forming solid surfaces for unwinding or entertaining. However, they need to be installed properly to avoid potential problems such as migrating edges, standing water, or settling.
You may encounter such problems, especially if you choose to install pavers all by yourself with little know-how on the whole process. But if you are well-informed, you can do a perfect job. This article has step to step directions on how to install pavers perfectly and avoid problems.
Planning
Your paving project will be a success if only you plan beforehand. Start by creating a list of the things you need. The quantity of materials will depend on the number of pavers required. Determine any drainage and slope issues by first analyzing the site carefully. When ordering the materials, having some extra is a brilliant idea to leave room for any cuts you may want to make on curved areas or edges.
Prepare the base
When it comes to a paving project, you need to prepare the base to enhance the success of the project. Determine and mark all the external dimensions. Also, you can factor extra 6-8 inches past these dimensions to create a solid base and inclusion of a paving restraint. For excellent results, the depth of a patio base or walkway needs to hold roughly four inches of a compressed, dense score aggregate, sand of one-inch layer, and the paver’s height. Compacting aggregate base materials and the soil subgrade properly will enhance lasting effect of the paver projects.
Install the Pavers
Make sure that your completed surface is consistent and that it slants from structures to provide good drainage. Plan for a 1-inch slope for every ten paving feet. You can attain a smooth surface if you put double 1-inch pipes on the compacted dense grade aggregate, add and use 2-by-4 lumber to rake or screed the sand.
After screeding the sand and removing the pipes, avoid disturbing the sand bed. Lay the pavers from a straight edge,then find your way out. This way, you can retain strain lines as you move forward. Once you start moving away from the edges, you can work from the paver’s surface, provided you don’t apply excess pressure to the external edges.
Completing the project
After laying down almost all the pavers, the chances are that you’ll be left with multiple cuts to cover the edges. A paver splitter or a masonry saw can be used to cut or mark the pavers. It’s critical that you prevent the project edges from separating or moving, and therefore you should install a metal or plastic edging. The last part involves placing sand in the joints of the paver. Note that fine angular sand compacts and binds much better compared to round, coarse sand. After sweeping the sand remaining in the joints, use the compactor to set the sand perfectly. After compacting, you may have to add extra sand to ensure that it’sat the same level as the pavers.
Why You Should Care about Installing Pavers
Pavers have become increasingly popular, especially concrete pavers. They are mainly common in commercial entrances, plazas, parking lots, and driveways. That’s because they come with lots of benefits. For example, they are cost-effective, eye-catching not to mention that they are long-lasting. Pavers improvethe value of your property by creating a great first-time impression.
Furthermore, pavers are available in various colors, designs, and style and are incredibly lasting. That’s why they are used in most commercial applications. In fact, if well-installed concrete pavers can last between 20-30 years. Note that the concrete units provide resistance to high abrasion, freeze-thaw cycles as well as skid resistance. Maintaining pavers is also easy, and in case it gets dislodged, you can re-set it swiftly without spending a lot of money. Finally, pavers help prevent flood and stormwater runoff.


