Table of Contents
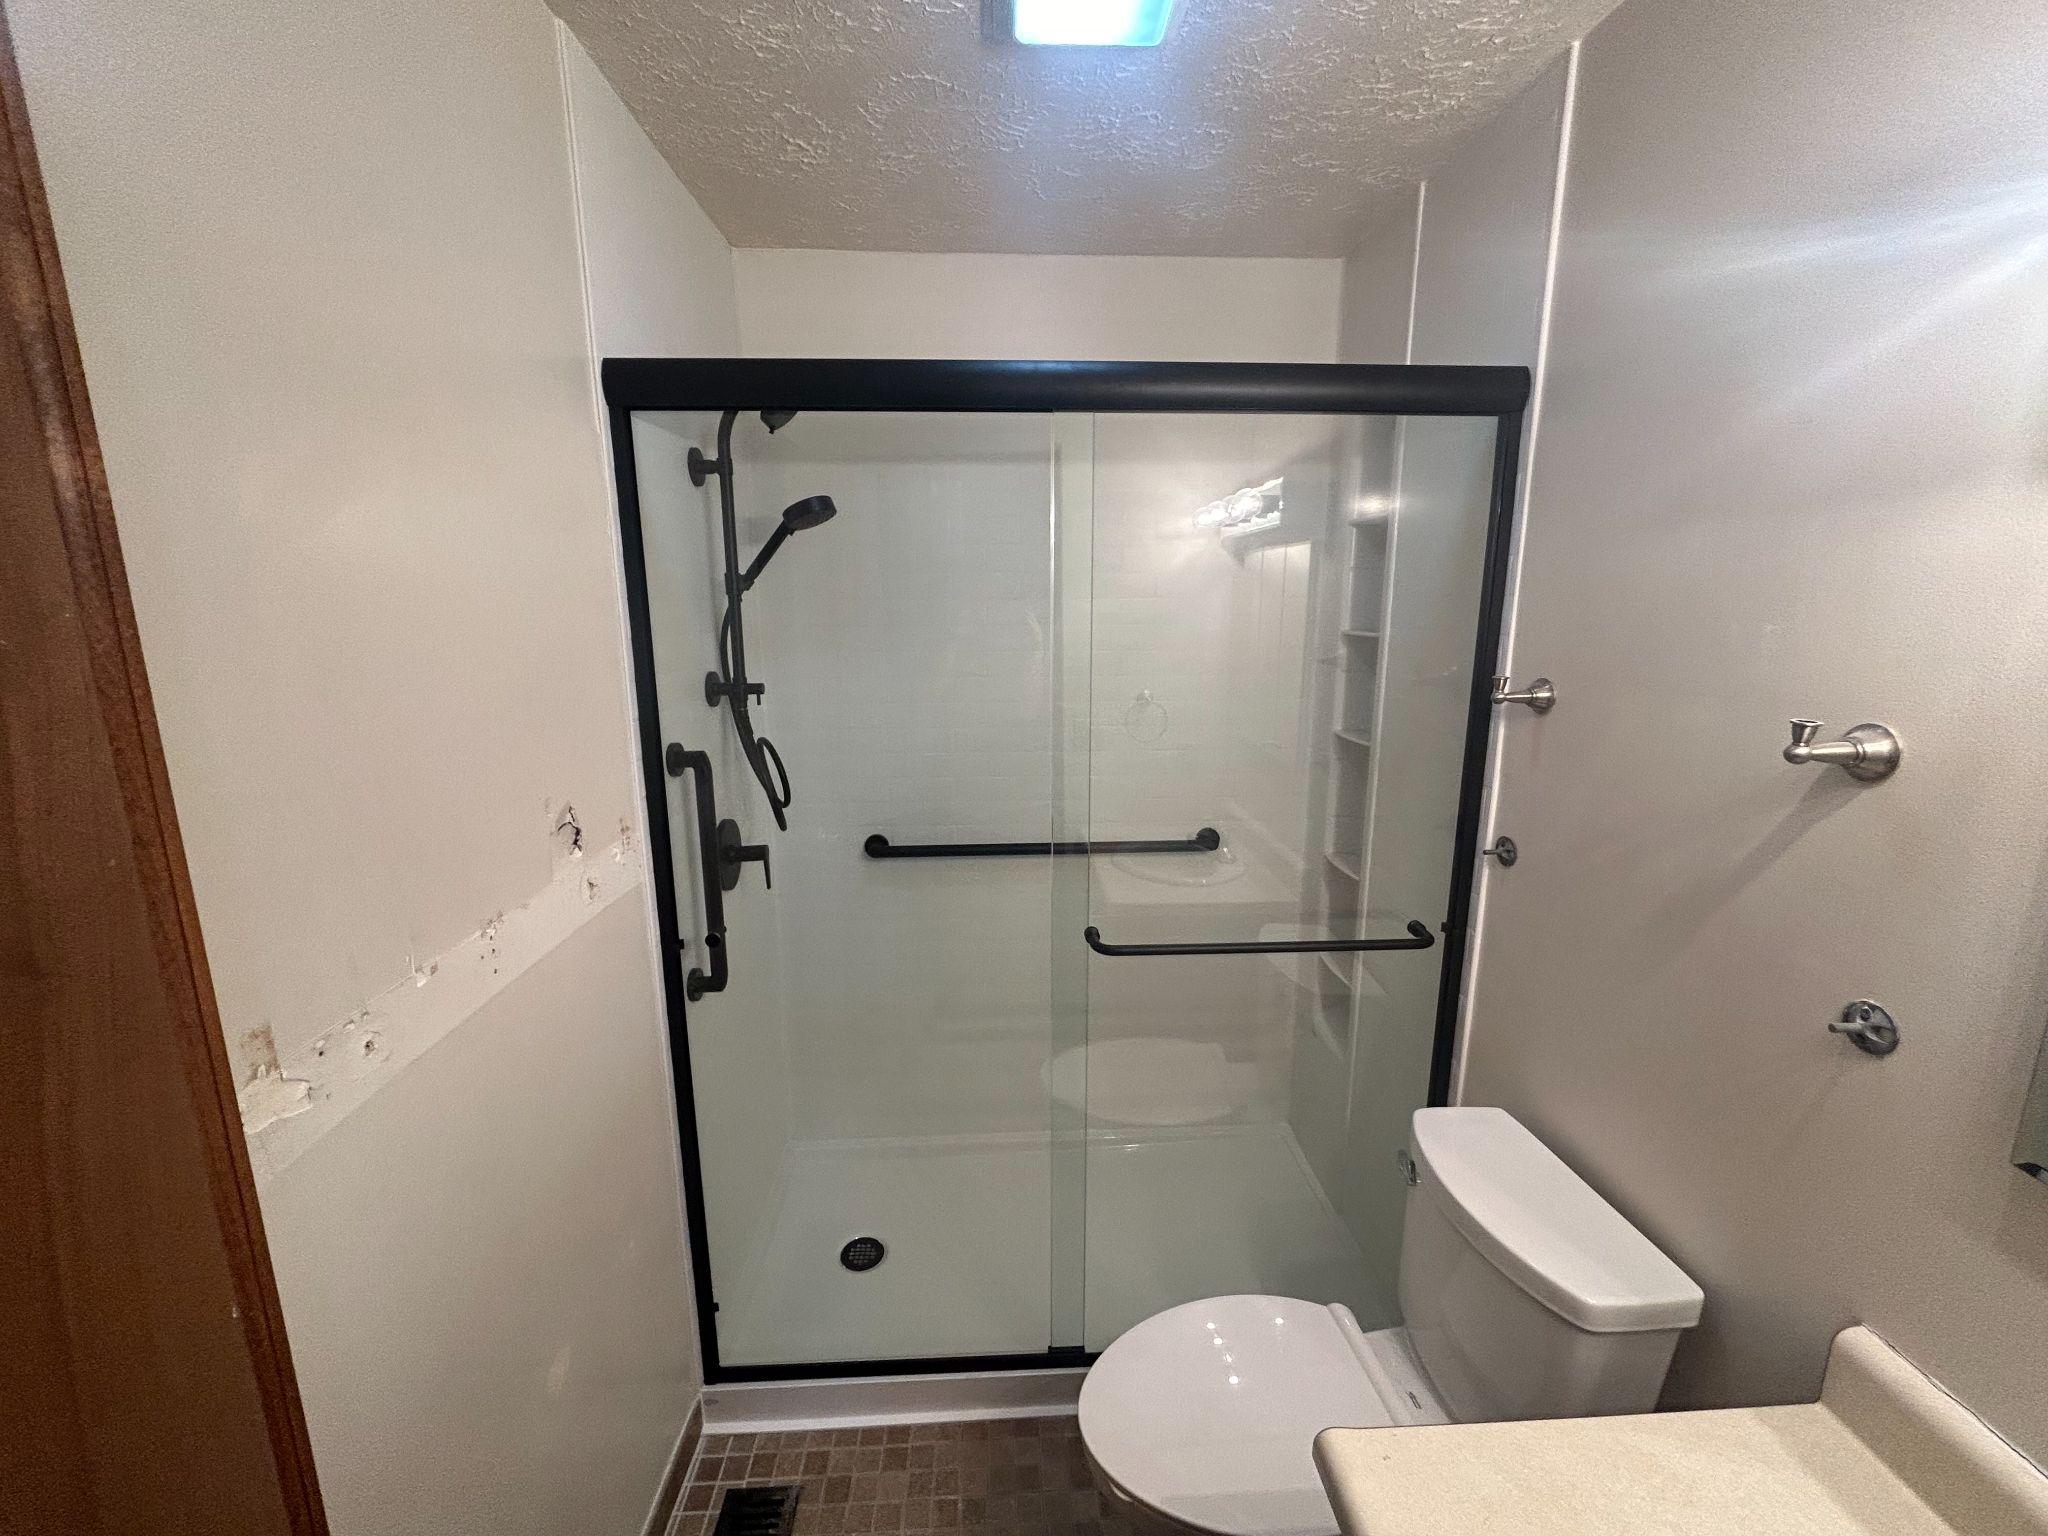
Bathroom remodeling can transform one of the most used rooms in your home into a functional and relaxing space. Among the most popular upgrades in recent years is the walk-in shower. Whether for accessibility, modern aesthetics, or efficient use of space, walk-in showers are practical and stylish. One of the best ways to achieve a fast, durable, and elegant result is by using synthetic stone wall systems.
Unlike traditional tile, synthetic stone panels can be installed quickly—often within a single day—and provide the look of real stone without the extended labor, mess, and maintenance. This guide will walk you through the process of remodeling a bathroom and installing a walk-in shower using synthetic stone panels, from preparation to final caulking.
What Are Synthetic Stone Wall Panels?
Synthetic stone panels are engineered wall coverings designed to mimic the look and feel of natural stone, such as marble, granite, or travertine. Typically made of PVC, acrylic, or solid-surface composite materials, they’re waterproof, lightweight, and pre-finished. They come in large sheets that can be cut to fit and glued to wall substrates, eliminating the need for grouting or sealing.
These panels are ideal for quick installs and are commonly used in one-day bathroom remodeling because they reduce labor time while still offering a high-end appearance.
Benefits of Walk-In Showers with Synthetic Stone Walls
Before diving into the installation process, it’s worth noting the major benefits of this approach:
- Faster installation time (1–2 days instead of weeks)
- No grout to clean or reseal
- Waterproof, mold-resistant materials
- Realistic stone patterns and textures
- Minimal demolition and cleanup
- Ideal for aging-in-place and accessibility upgrades
Tools and Materials You’ll Need
Here’s a basic list of tools and materials required to complete a walk-in shower remodel using synthetic stone wall panels:
Tools:
- Tape measure and level
- Circular saw or fine-tooth jigsaw
- Utility knife
- Caulking gun
- Drill and bits
- Putty knife
- Panel adhesive (manufacturer-approved)
- Painter’s tape
- Silicone caulk (color-matched and clear)
Materials:
- Synthetic stone wall panels (back wall and two side walls)
- Shower base or low-threshold pan
- Shower valve and plumbing trim
- Backer board (cement board or similar, depending on existing conditions)
- Screws and anchors
- Optional: corner shelves, soap niches, grab bars, and seating
Step-by-Step Installation Guide
Step 1: Evaluate and Measure the Space
Begin by evaluating the bathroom’s current layout. Decide whether you’ll keep the current tub or shower footprint or adjust it for a larger walk-in shower area. Measure the height, width, and depth of the shower area to determine how many panels you need and where to make cuts.
Take note of plumbing locations, electrical switches, and any obstacles that need to be accommodated or moved.
Step 2: Prepare the Plumbing
If upgrading from a standard bathtub or older shower, you’ll likely need to update or relocate the plumbing.
- Turn off the water supply.
- Remove the old fixtures and trim.
- If needed, reroute the shower valve and spout to a higher placement for the new walk-in configuration.
- Install any plumbing support backing, such as 2×4 cross supports for grab bars or a handheld sprayer.
Tip: It’s always best to have a licensed plumber handle any water line relocation or valve replacement.
Step 3: Demolish the Old Shower or Tub
Carefully remove the old shower surround, tile, or tub. Use a utility knife to score caulk lines and a pry bar to remove panels or tile. Clean the wall studs and subfloor of any remaining adhesive or debris.
If necessary, remove drywall or tile backer board to expose the framing and inspect for mold or water damage.
Dispose of the old materials in a proper waste bin and vacuum the area for a clean work environment.
Step 4: Install or Prepare the Shower Base
A low-threshold shower pan is essential for most walk-in shower installations. These bases are usually fiberglass or composite and come in standard sizes (36″ x 60″, 32″ x 48″, etc.).
- Dry-fit the base to ensure a proper fit.
- Apply a bed of thin-set mortar if required by the manufacturer.
- Level the base and press it firmly into place.
- Connect the drain line to the shower pan and check for leaks.
- Allow the mortar to cure if needed.
Important: Confirm the slope of the base drains correctly toward the center or edge drain, depending on the design.
Step 5: Install Backer Board or Prepare Wall Surface
If your shower walls are not already suitable for direct panel installation, install cement board or an approved backer board.
- Cut the backer board to fit each wall section.
- Screw it into place, leaving a small gap between sheets.
- Tape the seams and apply thin-set mortar if required.
- Ensure walls are flat, clean, and dry before continuing.
Some synthetic stone systems may allow for installation over existing tile or drywall if it’s in excellent condition—check the manufacturer’s guidelines.
Step 6: Cut and Fit the Synthetic Stone Panels
Lay the wall panels flat on sawhorses or a clean work area. Use your measurements to mark cut lines on each panel.
- Cut panels using a circular saw or jigsaw with a fine-tooth blade.
- Dry-fit each panel before applying adhesive.
- Cut out holes for the shower valve, trim, or accessories using a hole saw or oscillating tool.
If your system includes corner trim or interlocking edges, follow the recommended overlap or spacing for a tight seal.
Step 7: Apply Adhesive and Install Panels
Use a panel adhesive approved by the wall system manufacturer. Apply the adhesive in vertical beads across the entire backside of each panel, ensuring full coverage.
- Press the back panel into place first and hold firmly for several minutes.
- Follow with the side panels, making sure all seams are tight.
- Tape edges temporarily if needed to hold alignment while the adhesive sets.
- Wipe away any excess adhesive immediately.
Let the panels cure according to the adhesive’s instructions—usually a few hours.
Step 8: Seal Joints and Edges
Once the panels are secured, seal all vertical and horizontal seams with silicone caulk. This includes:
- Corners
- Panel-to-base connections
- Around plumbing fixtures
- Any joints where accessories meet the wall
Use a color-matched silicone for visible seams and clear silicone for base edges. Smooth the caulk with a gloved finger or caulking tool for a clean finish.
Step 9: Install Fixtures and Accessories
Reinstall the shower valve trim, handles, showerhead, and any additional fixtures. If you’re adding grab bars, corner shelves, or a bench, be sure they’re anchored securely into studs or blocking.
Accessories designed to work with synthetic panels often have specific mounting brackets or adhesive pads.
Step 10: Clean and Test
Clean all surfaces using a soft cloth and non-abrasive cleaner. Avoid scrubbing or harsh chemicals that can scratch the panel surface.
Turn on the water and test all fixtures. Check for leaks at the valve, showerhead, and drain. Inspect caulk lines and touch up any spots as needed.
Let everything cure fully before first use, typically 12–24 hours depending on materials used.
Maintenance and Longevity
One of the biggest advantages of synthetic stone wall systems is low maintenance. Unlike tile, they don’t require sealing or grout cleaning. Regular wiping with a mild soap solution will keep them looking like new.
These panels are also highly resistant to mildew, cracking, and warping—making them ideal for long-term use in humid environments.
Final Thoughts
Installing a walk-in shower with synthetic stone walls is a practical and visually appealing upgrade that can often be completed in just one day. While some plumbing and prep work may require professional help, many systems are designed to streamline installation and minimize downtime.
By following this step-by-step approach, homeowners and remodelers alike can deliver high-quality bathroom transformations with less mess and stress. Synthetic stone panels offer the perfect combination of speed, durability, and beauty — ideal for anyone looking to modernize their space quickly and effectively.
Author/Bio
With over 25 years of hands-on experience in construction and remodeling across three countries, I’ve developed a deep understanding of what it takes to deliver quality craftsmanship and practical design. From high-end residential builds to efficient, functional renovations, my background spans diverse building environments and standards. Today, I apply that knowledge to help homeowners turn their vision into reality — with a focus on detail, durability, and customer satisfaction.

