Table of Contents

Among the various building materials out there, drywall is one of the popular. Drywall is a large rigid sheet made of gypsum comprising two paper boards that are wedged on the gypsum panel. During construction, a professional will install drywall at the interior sides of ceilings and walls.
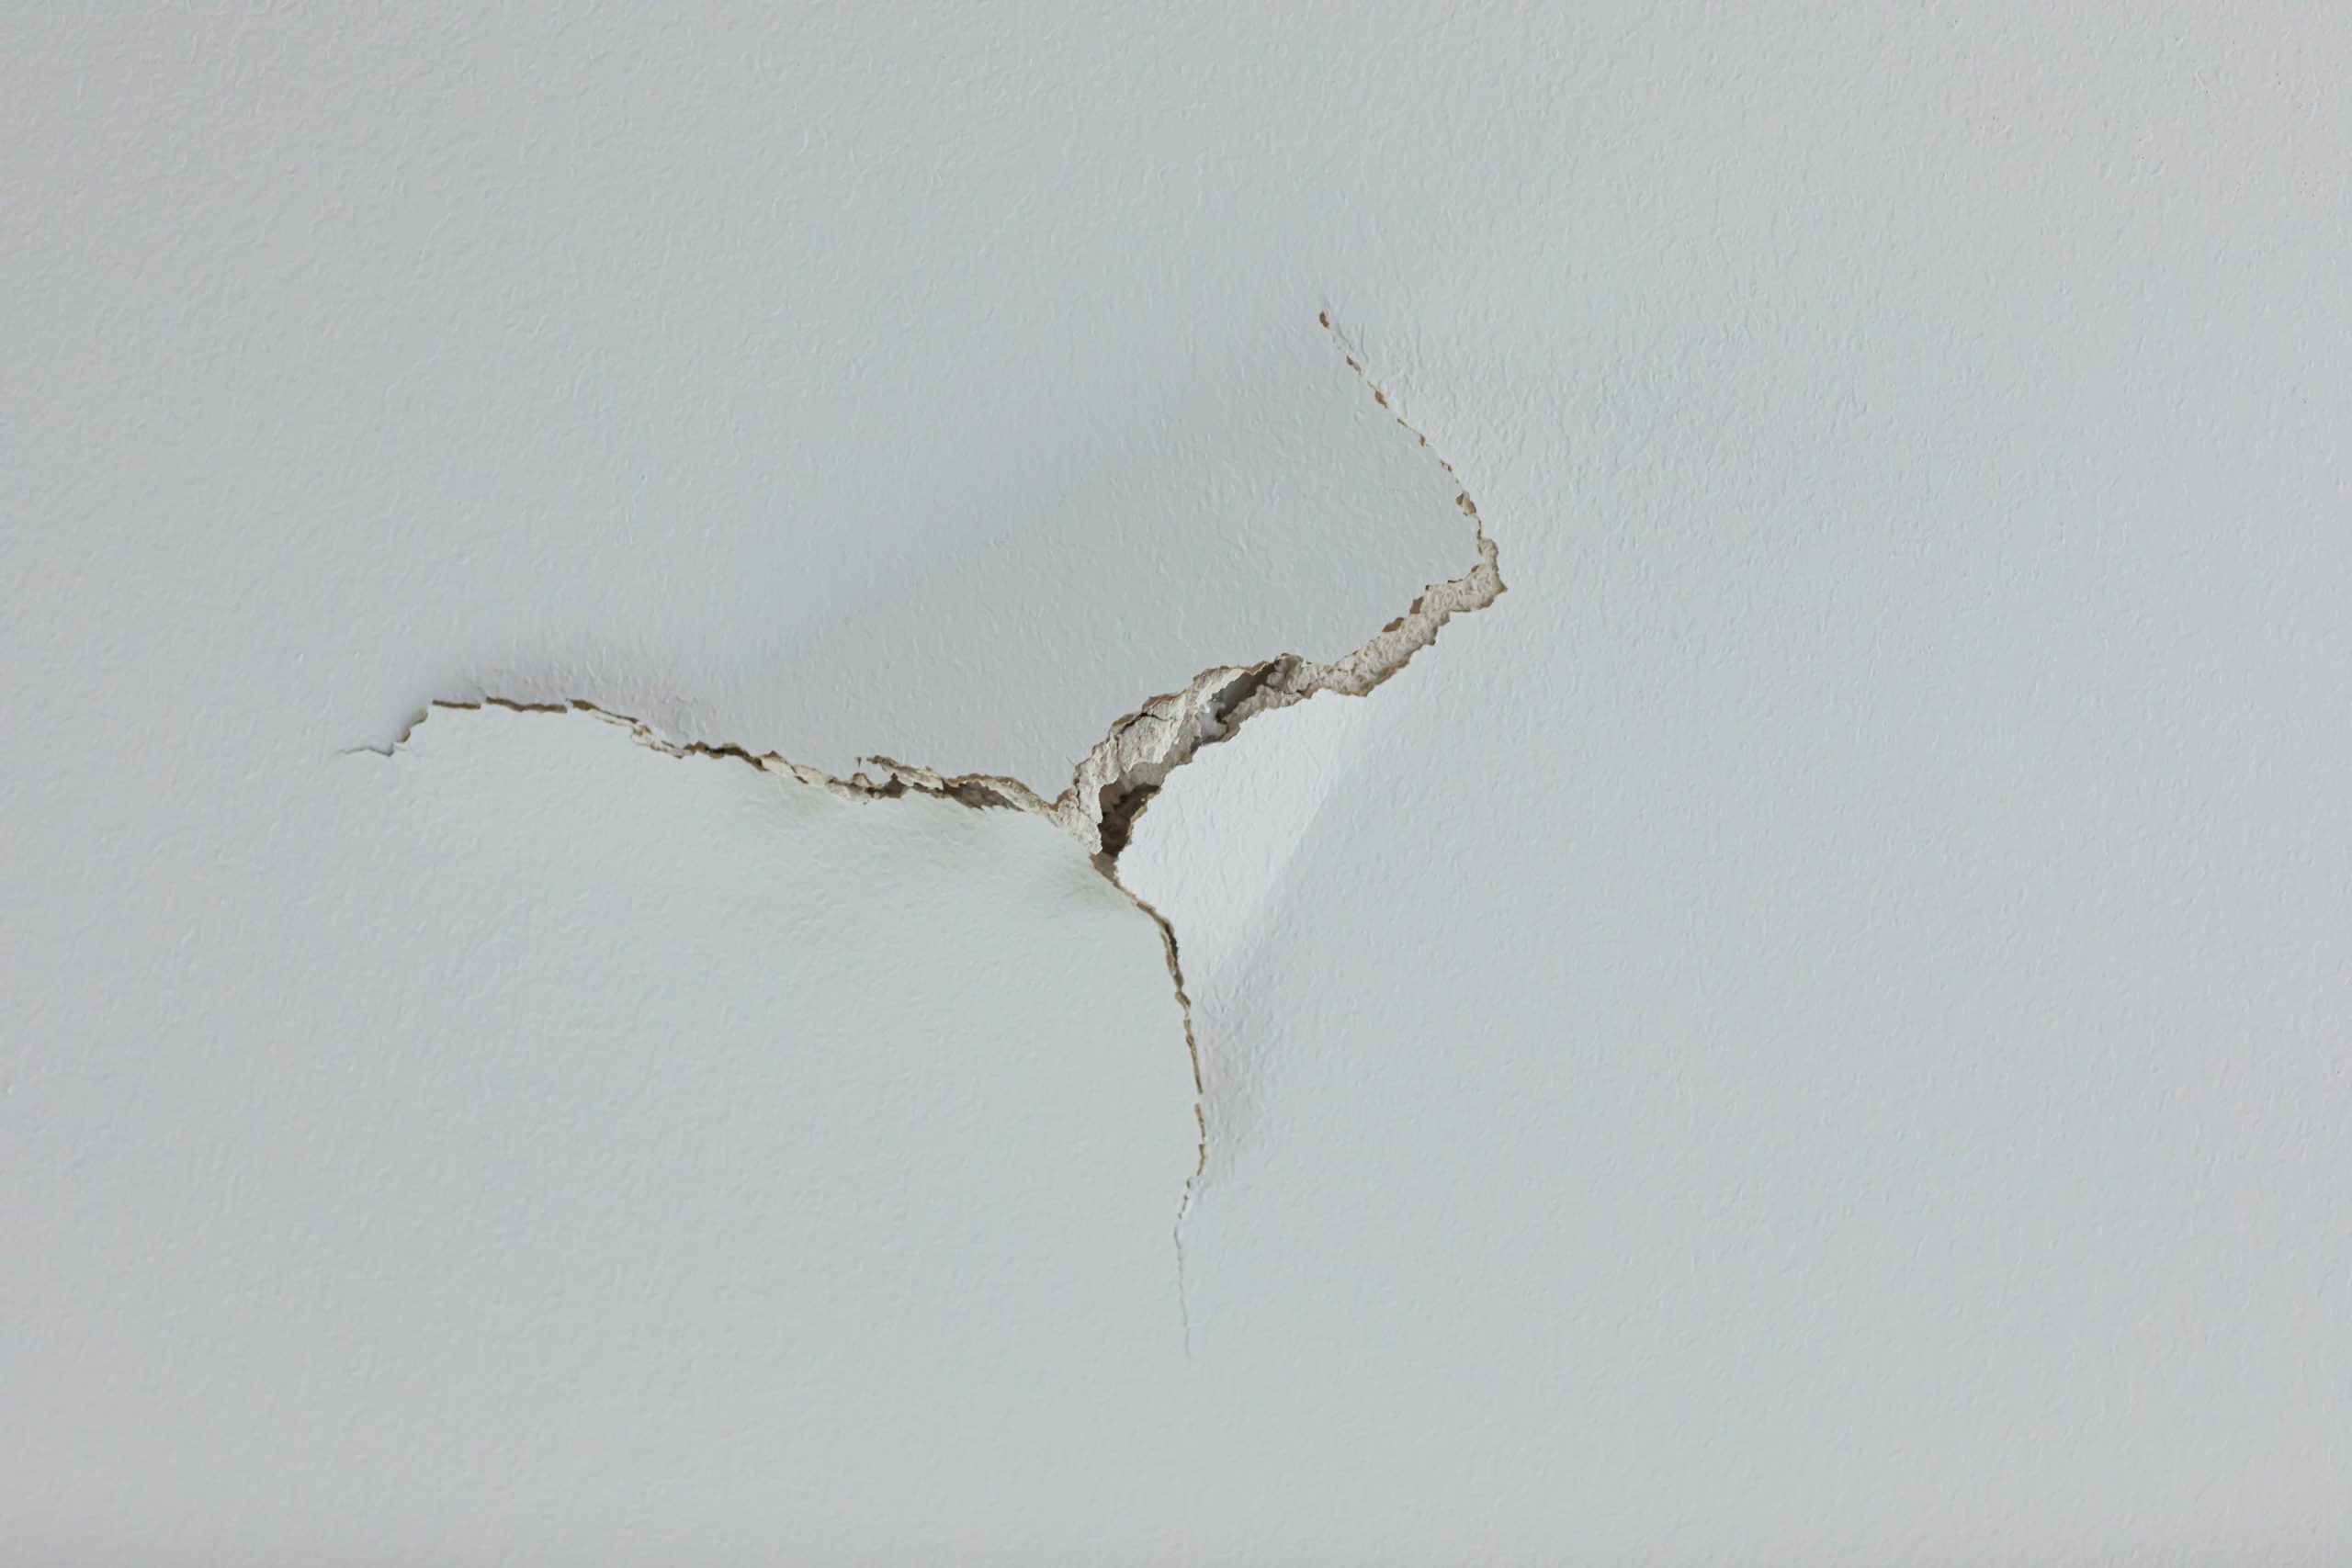
Although drywall or gypsum board walls are durable, they can crack, have uneven corners, or end up crooked if not installed properly. Factors such as accidents involving excessive force and water damage can harm drywall, too. Should you detect such issues on your property, it’s advisable to seek help from a reliable provider of drywall repair and installation.
Even if you’re not going to handle drywall yourself, it would do you a world of good to learn what and what shouldn’t be done with it. This way, you can determine if the professionals you’ve hired will be able to give you a good outcome. And if you already know how to repair or install drywall, you can improve your skills by following certain tips. Here are several do’s and don’ts when working with drywall:
Do Utilize The Proper Equipment
During the repair or installation of drywall, it’s crucial to have the right tools. If you have a minor dent or scratch in one part of the wall in your home, use a 3–4-inch putty knife when filling the site with a thin layer of drywall mud or joint compound
As for perforations or cracks bigger than ½ inch, these require sufficient support with a reinforcing mesh before spackling. To learn more about how professionals tackle drywall repair, check out this video:
Do Wear Proper Gear For Protection
When working with drywall, make sure to wear the proper gear and equipment for protection. It’s crucial to note that the fine particulates in the drywall compound can damage the lungs if inhaled.
Always use a dust mask during the sanding process. Augment your protection by wearing gloves to protect your hands against the dehydrating effects of gypsum particles.
Do Apply Several Thin Coatings
If you want your drywall installation to look professionally done, stick with several thin coatings. It’s best to apply three or more coats of thin compound rather than one heavy coat.
Although it’ll take time for the compound to dry, avoid rushing the taping process by applying a few thick coats. If you place a thick coating, it’ll prolong the sanding process, and you’ll never achieve smooth joints. Additionally, the compound slightly shrinks once it dries up, so if you have thick coatings, they’re likely to buckle and warp, resulting in a bumpy surface.
Do Not Cut Back On The Sanding Process
When you try to limit the time you spend on sanding, the result might be unsatisfactory. With this in mind, it’s best to take your time with this particular task.
Once the site completely dries up, you should utilize fine-grit sandpaper for the sanding process. After the initial round of sanding, apply a second layer of drywall mud, leveling it around two inches beyond the boundaries of the first layer. Once it fully dries, start another round of sanding on the site.
Do Not Cut Any Electrical Wirings
In any type of work, safety must be the priority. Avoid cutting into a wall to fix a dent or hole until you’re sure that there are no electrical wires or plumbing behind it.
When dealing with a small-sized hole, use a flashlight to check what’s inside. You should create a horizontal cut, carefully using a drywall saw in instances where you need to widen the dent or hole.
Do Buy The Appropriate Drywall Mud
A typical mistake during the taping process is using the incorrect drywall mud in most drywall repair or installation projects. It’s best to go for an all-purpose compound for the first coat and every additional layer except the final coat.
An all-purpose compound will level the surface smoothly and stick appropriately to the drywall tape and joints. The final coat will require a topping compound that provides an excellent texture and can be sanded.
Try to avoid the hot or fast-setting variants of compound unless you have enough experience. The hot compound rapidly sets before you can evenly level it out, resulting in a lengthy sanding phase.
Do Not Overlap The Drywall Tape
Once it’s time to apply the drywall tape, stick with a single layer to reduce the chances of bulging or protrusions in your wall.
Carefully place a thin layer of drywall compound to a single vertical joint with a knife. Make sure to spread the mud evenly over the joints. After applying the mud, place a strip of paper tape on it. Work the knife smoothly, starting from the middle of the tape to each end to secure it in the mud. Repeat the same process on all vertical joints.
When taping the horizontal joints, cut the tape to fit between the vertical joints without overlapping perfectly. Avoid overlapping them since this’ll leave undesirable bumps on the finished wall.
Conclusion
Depending on the drywall project you’re planning to work on, whether it’s a minor repair or installation, being familiar with the do’s and don’ts above will significantly help you get the best results. These helpful tips will serve as your guide when your drywall ends up with damage that requires a repair job or replacement.


