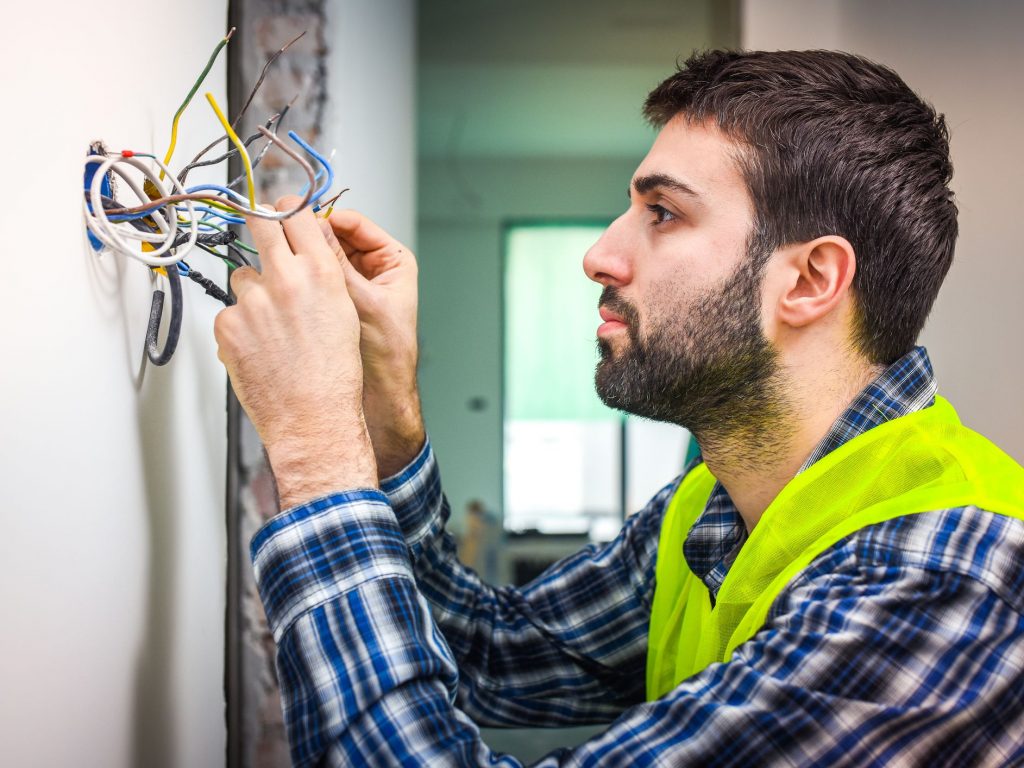
It’s not a good idea to call professionals every time you need to fix a light switch or replace a ceiling fan. Not only does this cost you money – but it’s also time-consuming and a bit of a hassle.
So, why not consider doing some basic household electrical repairing yourself? More and more homeowners are opting for these minor tasks on their own, so there’s nothing to be worried about.
As long as you know what you’re doing and you take the right precautions, doing your own minor electrical repairs will open up a lot of doors.

Here are a few tips to keep in mind, when you embark on this journey.
1. Get Familiarized with the Layout
To do the electrical repairs in your house, you need to have some basic knowledge of electrical work. Dealing with electricity without any prior idea or experience is unsafe.
But this doesn’t mean that you can’t learn. In fact, if you’re a complete newbie, it may be a good idea to join a Skills Training Group for electrical repair.
You should also be well aware of the layout of your electrical lines. Usually, household outlet boxes have at least 3 wires- a hot, a neutral, and a ground wire.
If you’re working with a ceiling fan or light switch, you should have an idea about where the wires go, and what color signifies which wire. Know all the terms and make sure you can identify what you’re working on.
2. Stock up on the Right Tools
Before mastering the art of DIY electric repairs, you need to have the right tools. If you’re serious about this, then you should make a list of tools you might need.
Of course, the equipment needed will vary according to your task.
But there are some general tools for electrical work you should have like electrical tape, screwdrivers, cable cutters, wire connectors, pliers, wire strippers, and a utility knife.
You should also get a flashlight or headlamp to work in the dark, as well as a voltage tester. The voltage testing may seem a bit extra, but it’s necessary for your safety. It’s also useful to have a socket set and a stepladder.
Make sure you get the correct wiring for your electrical components. Indoor and outdoor projects usually require different kinds of wiring. Using the wrong type can cause a lot of damage.
3. Label the Circuit Breakers Properly
For whatever electrical work you do, you need to know which circuit breaker controls what aspect of your house.
The main control center for your home is the service panel, which is usually located in the basement. The service panel should be inside a metal box and attached to a wall
During the initial installation, each breaker is usually labeled by the circuit it controls. However, there is a possibility that they may be mislabelled, or that their labels fall off or fade away with years.
Also, as more renovations are done in your house, the circuits and controls keep changing. So you should always make sure these breakers are updated and labeled properly.
The easiest and most foolproof way to do this is by flipping off the breakers and keeping track of which devices are shutting off. This is a bit cumbersome, but it will make sure your labels are accurate.
4. Make Sure the Power is Off
No matter how skilled you are, working with electricity is very risky. You’d be surprised at how common a phenomenon the surprise shocks from merely touching a wire are.
It’s therefore always wise to make sure the electricity is switched off. Always unplug the appliance you are repairing. As a precaution, you can also completely switch off the electricity while you work.
To do this, you simply need to look at your service panel and flip the breaker to turn the power off. Or you could unscrew the fuse that controls the power for the electrical box or appliance you want to work on.
It’s also important to check whether the power is actually off before you start. You can do this using a voltage tester.
5. Keep the Wiring Connections Tight
The tighter the connections between the conductors, the smoother the transition of electricity. By conductors, I mean anything electricity flows through, such as wires and socket metal contacts.
However, sometimes, these connections can be loose and restrict the flow of electricity.
In extreme cases of looseness, something called “arcing” occurs, where electricity jumps through air, in the process of transition from one conductor to another, creating a lot of heat and friction.
When this occurs, your appliances are more susceptible to fires. Therefore you should make sure all your wires are tightly connected and that conductors are in contact with each other.
6. Know Your Amperage Ratings
All your electrical devices will have an amperage rating, which is the maximum electrical current that can flow through them without damage.
In most cases, household circuits are rated at 15 to 20 amps. Larger appliance circuits, however, are rated at 30 to 50 amps, or greater.
Whether you’re installing, replacing or wiring appliances, you should know the correct amperage rating. Using wiring with the incorrect amperage rating can cause overheating and fires to break out.
Always make sure you are not installing anything with a greater amperage rating than the circuit as this will cause overloading. However, installing devices with a lower amperage than the circuit is perfectly safe.
Final Thoughts
These are some very basic, but important tips that every homeowner should know when dealing with electric work. Also, keep in mind that some works are always a good idea to leave it for the professionals.
Know your limits and make sure you keep safety as a priority. However, it’s never wrong to explore your talents safely and see the wonders you can do yourself.
Doing these bits and bobs yourself around the house will make you handier and in tune with your home. Not only will you save money- but you’ll also feel a surprising sense of accomplishment!


