Table of Contents

Fixing the wood flooring in your house is the ultimate in aesthetic renovation. Fixing up your flooring is a fantastic way to give your home a quick and inexpensive facelift, whether they have scratches, gouges, or general wear and tear from years of usage.
There are a number of simple and fast methods for fixing hardwood floors, despite the fact that the work may appear daunting at first. This article will quickly probe the hardwood floor refinishing in Calgary, from the easy solutions that need common household products to the more complicated procedures that require specialized equipment. Quickly and affordably freshen up you’re flooring by reading on!
Repairing The Ruins
Remove the rotten or soft wood using a chisel or an awl until you reach the solid lumber below – no need for perfect symmetry or a square shape. For the most remarkable results, the region should have a more irregular form. Therefore, follow the wood’s lead as to how much trimming is required.
Tape Off The Damaged Area
Because we’ll be filling the hole with Epoxy, it’s important that you tape off the area all the way to the edge so that the surrounding area isn’t harmed. For optimum results, use blue painter’s tape. You risk removing the floor finish around the edges if you use something more powerful.
Put Epoxy In The Holes
While there are many available in the market, good Wood Epoxy is what works well with wooden floors go for, choose epoxy, which is a superb alternative for spot repairs. To learn the specifics of mixing and using Wood Epoxy, follow the directions strictly as mentioned in the epoxy instructions section.
Although different wood fillers may be used, choosing the best after little research is the best option. To ensure that any gaps in the patch are filled, the epoxy or filler should be pressed firmly into the area. Be careful to slightly overfill the patch so that it may be sanded down to the same level as the surrounding area after it has dried.
Sanding and Staining The Patches
Removing the tape and sanding the patch until it is smooth and flush with the surrounding floorboards must be done after the Epoxy has set and solidified. Avoid sanding the floor boards’ finish and focus on smoothing out the Epoxy instead. It will be a lot of extra effort to make everything seem seamless if you sand the finish of the surrounding boards first.
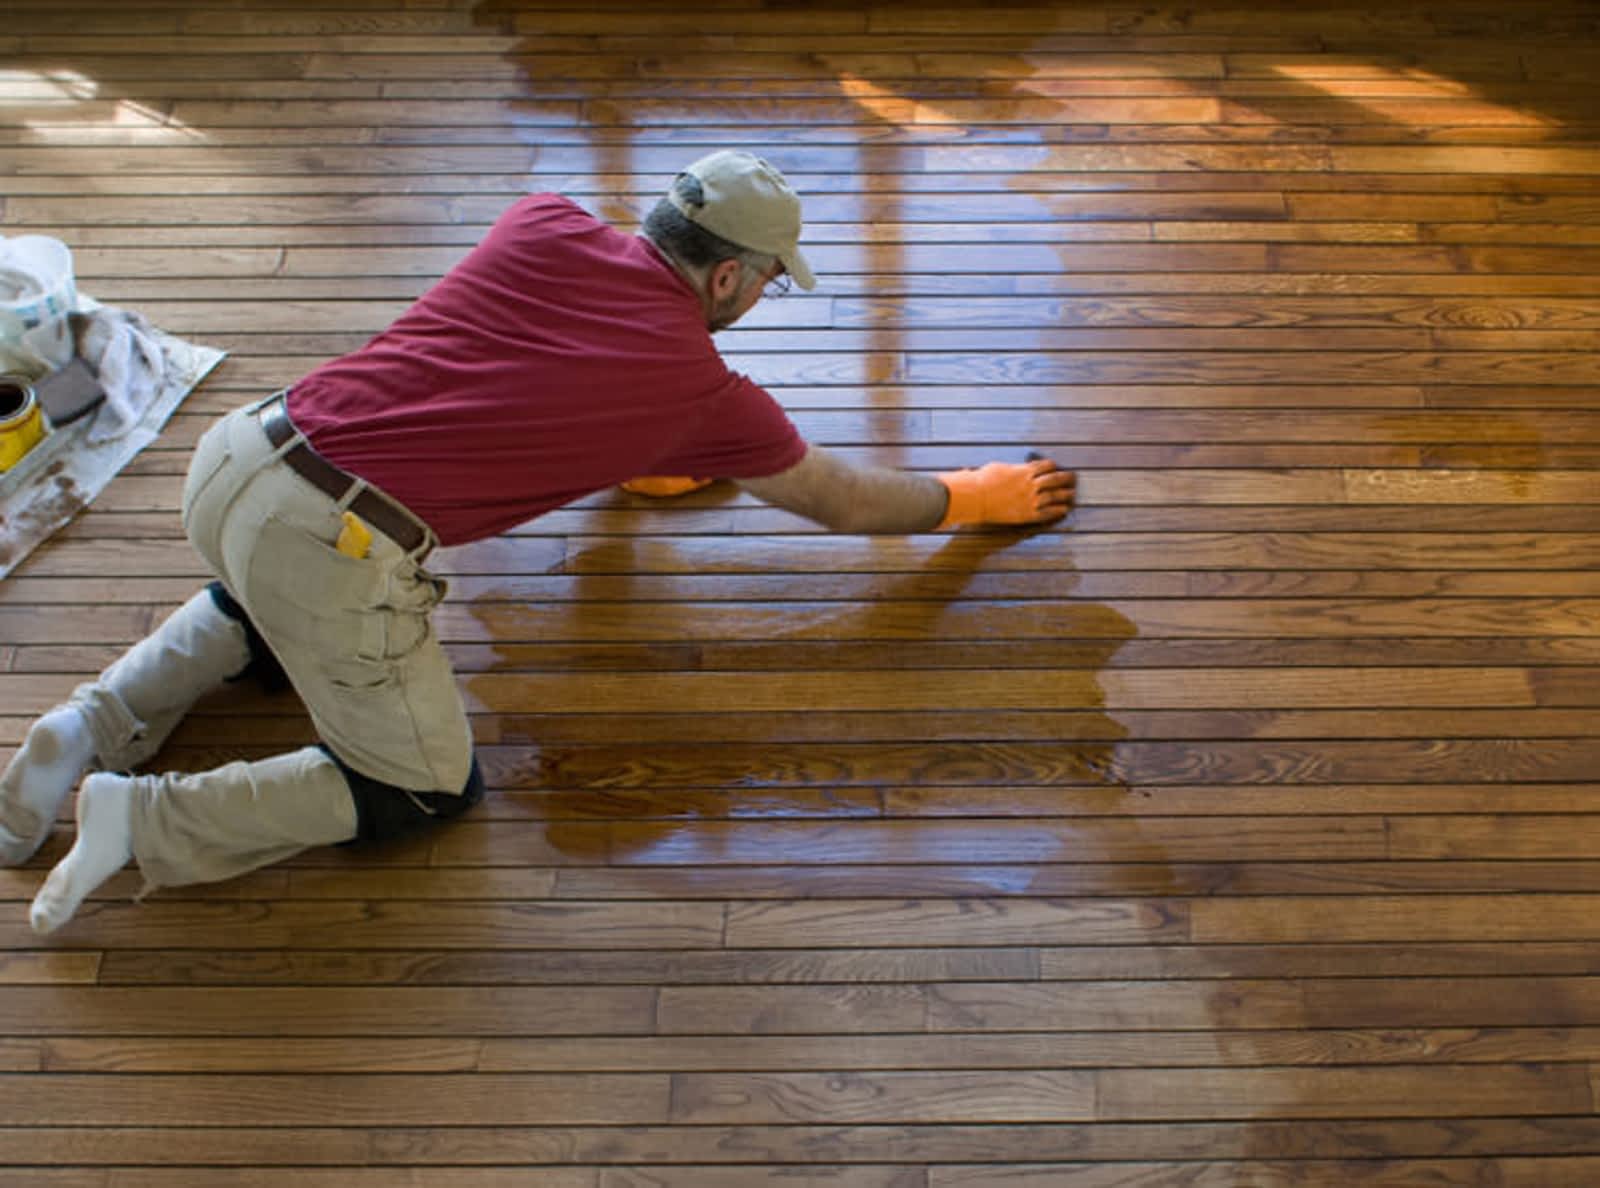
Mineral spirits should be applied on a cloth before using it to clean the surface. This will ensure that any dust is effectively removed. The next step is to mix up some wood stain that is the closest in colour to your existing floor and apply it with a rag to the repair. Remove any surplus and wait a few minutes for it to dry.
Get Down To The Grains
The patch may still be noticeable to the untrained eye, depending on the grain of the wood. Try to restore the wood’s grain patterns by carefully drawing them in with a paint pen or artist’s brush and paint. To whatever degree of complexity, you’d want, this is open to you. In general, it’s best to mimic the current wood’s pattern as closely. Before you apply any stain, you always do this to ensure a uniform appearance.
Layer With A Glaze
Apply a thick layer of polyurethane using a paintbrush to seal and preserve the repair once everything is dry. Don’t touch the boards around the patch; they’re OK as is. Whether your floors are now satin, semi-glossy, or high-gloss, it is essential to maintain that shine. It’s suitable for use once an overnight drying period has passed without any foot traffic disturbing the finish.
Damage Prevention for Hardwood Floors
You may save money on wood floor repairs by taking precautions against the most common causes of damage to wooden flooring. Some simple precautions may help protect your hardwood floors from damage.
A Strong Finish: The issue is moot if you purchase prefinished wood. A scratch-resistant polyurethane coating is an excellent choice for sealing and protecting wood if you’re doing the finishing work yourself.
No Shoes: Taking off your shoes before walking on hardwood floors is an excellent technique to protect the floor from damage. Hardwood floors are often scratched by pebbles and other debris that gets stuck in shoe bottoms. So please don’t let anybody inside the home wear them.
Avoid To Lift Furniture: Avoid scooting about on the floor when moving heavy furniture by lifting it instead. Get a companion to help you move heavy items if you can’t manage them alone. Scratching your flooring is easy to do by scooting bare furniture over it. Protect your floors from scratches when you move furniture by adhering special pads to its legs. With this, you won’t even need to raise a finger to rearrange your furniture.
Keep Them Clean: Scratches are easy to avoid if you keep your floors swept and washed regularly. Because the floors will stay clean and shining if you don’t let dirt and grime accumulate on them. Also, sealants will last longer with this.
Place Rugs: If you have hardwood flooring, an area rug will save your hardwood floor life. They may be placed in high-traffic areas or places where you’ve been having problems. This method significantly reduces the possibility of floor scratches.
Final Thoughts
When just a tiny section of your wooden floor requires fixing, and it isn’t cost-effective to replace the whole board, you may use this method. When just the damaged parts of the structure are repaired, a more significant portion of the building’s initial form is kept intact. it’s better than a missing or gouged board and easier on the wallet than a full replacement. If a full-scale restoration of the flooring is not feasible at the moment, this is an excellent quick and easy wood floor repair solution to the problem areas.


