Table of Contents
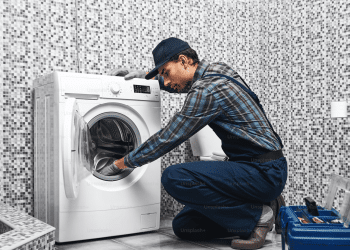
Although fluoride can be good for your teeth, it can harm your body if you ingest it. Still, it doesn’t stop some local jurisdictions from adding it to their water supplies. While water filters effectively remove most contaminants, removing fluoride can be a bit tough.
Most filters, such as Brita and Pur, don’t remove fluoride. That’s why we won’t talk about installing a casual water filter. In this article, we will explain in detail how to install a fluoride water filter, and give you some useful tips and tricks. Check out WaterFiltersAdvisor’s blog post about fluoride water filters which fully describes their features and benefits to your home.
How to Test Water for Fluoride?
Before you buy a filter, you should perform a short and simple test to see if your water is contaminated. If your water contains more than 7 milligrams of fluoride per liter, it’s potentially dangerous. There are two ways to test water for fluoride – you can get an official lab test, or buy special kits or strips to test on your own.
Getting an Official Lab Test
First, you need to find a state-certified lab in your area. If you live in the US, you can check EPA’s website to get the list of all the labs nearby. Then, you need to find a clean, sterilized bottle, and fill it with water. You can even get a clean bottle from the lab. However, make sure that it’s properly closed so that the water doesn’t get contaminated before testing.
Fill the bottle with 150ml of water, and label it with the date and location where you took the water from. Then, you need to bring the bottle to the lab and pay a testing fee, usually between $15 and $30. During the day, or a few days later (depending on the lab), you will get the results.
Using a Reactive Test Kit
Among all the testing kits, the most accurate is an electronic sensor, known as a photometer. Take a bottle and clean it properly with soap and water, to make sure that there are no contaminants that might interfere with the testing.
You need to fill the bottle with 4ml of water. However, depending on the testing kit, you might need to fill a different amount of water. If the amount is not specified, fill the bottle completely. Also, be sure to do the testing immediately after you’ve filled the bottle with water. If you can’t do it right away, seal the bottle and refrigerate it.
All testing kits work on the same principle. You need to fill the water with reagent according to the instructions provided with the kit. The reagent is usually red, and you would need about 15 drops of dye. It’s a special liquid that reacts only with fluoride.
Close the bottle and shake it for about 15-20 seconds. You will notice that the water has become completely red. Then, slide the sample into the photometer, and you will immediately get the results. If you don’t have the photometer, you will probably have a fluoride level color chart in your kit. Compare the water’s color to the chart, and you will see the results.
Using Testing Strips
There are various types of strips, but you can’t go wrong with classic ones – the ones that people use for testing water in pools. They usually detect fluoride, as well as lead, pH, and similar. You can even test your fridge water.
Select a clean glass, and rinse it with soap and hot water. Fill it with 10ml of water, and add muriatic acid if the test requires so. Muriatic acid is available at most pool supply stores, so you won’t have trouble finding it.
Drop the strip into the water only for 2 seconds, but make sure to put the entire strip underwater. Remove it right away and shake the excess water. You will notice that the strip has changed its color. Compare it to the chart that you got with the strips, and that’s it!
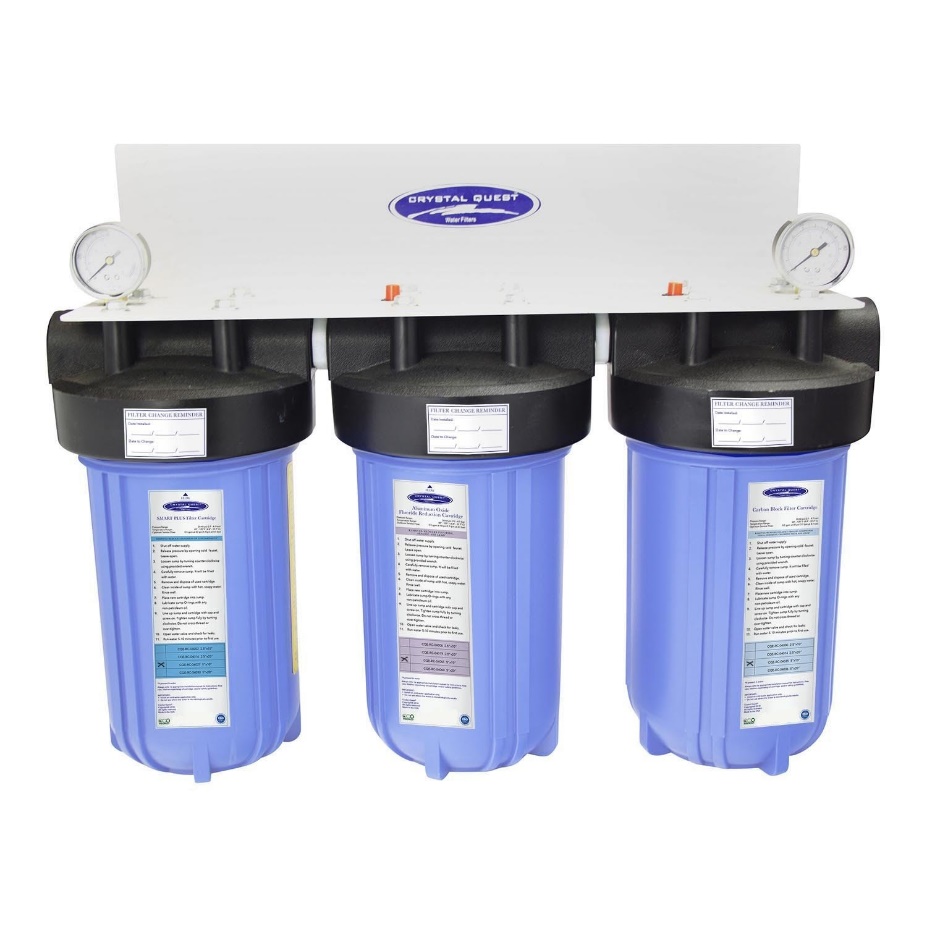
Installing the Filter: Simple Method
Priming Procedure
Remove the stickers and properly wash the exterior of the filter. Then, remove blue caps from both ends and place the rubber-priming button at one end, and align the button and filter holes.
Press the button against the faucet so that it creates a seal. While holding the button against the faucet, slowly turn on the water. It will fill the filter from the opposite end, so let it discharge for around 30 seconds. Turn the filter in the opposite direction and repeat the process.
Installation
Remove the chamber from the filter, and place it upside down. The arrow on the unit should point away from the chamber. Then, screw the filter elements, but don’t screw them more than eight revolutions, or it might damage the threads.
Replace the top reservoir onto the bottom one, and fill it with water. Let it drain into the lower reservoir, and when it’s full, get rid of the water. Don’t forget to do it, since it might contain dust from the residual process. Your filter is now ready to use.
A Few Important Notes
The first thing to keep in mind is that, when the lower reservoir is full of water, the filters will be immersed. Also, when the water level in the lower reservoir gets above the bottom of the filter elements, it might create specific “burping” sounds. It’s completely normal, and you don’t have to worry about that.
When it comes to the lower reservoir, most systems have between two and three gallons capacity. With that amount, you will need to refill it approximately once per day. However, it’s recommended to do it at night, because it should be perfectly purified before the morning.
If the water level in the lower reservoir gets above the bottom of filtration elements, the purification process might slow down significantly. In that case, it’s even more important to do the refilling at night. Also, if your family needs more water, you can increase the flow rate by drawing off the purified water into an empty container. As simple as that!