Table of Contents

Tiles can spruce up a room, adding a touch of elegance and style. It is whether in your kitchen, bathroom, or living room. But over time, the grout between those beautiful tiles can get dirty, discoloured, and downright dingy. Cleaning grout in tiles might seem daunting. But our complete guide will help you achieve those immaculate floors you’ve been dreaming of.
Tools and Supplies
Getting started with your grout-cleaning mission requires some essential tools and cleaning supplies.
· Grout cleaner: You can pick up a commercial grout cleaner or go the DIY route.
· Baking soda: This versatile cleaner is excellent for tackling mild grout stains.
· Vinegar: It’s a natural and eco-friendly cleaner that pairs well with other cleaning agents.
· A stiff-bristle brush: An old toothbrush or a grout brush is your trusty sidekick for scrubbing.
· Bucket and warm water: For mixing cleaning solutions and rinsing.
· Gloves and eye protection: Safety first, folks. These will keep you well-protected during the cleaning process.
Preparing the Area
Before you get your hands dirty with grout cleaning, there are some critical steps to prepare the area:
- Clear the space: Remove loose debris or items from the tiled surface. You want a clean workspace to start with.
- Ventilation: Ensure the room is well-ventilated because some cleaning solutions can give off fumes. Open those windows and doors, or switch on some fans to keep the air fresh.
- Protect adjacent surfaces: If you’re using some potent cleaning chemicals, it’s a good idea to lay down some protective materials or use tape to shield adjacent surfaces from potential damage.
Scrubbing and Brushing Techniques
It would help if you use the proper scrubbing and brushing techniques to get that grout-looking brand-spanking-new.
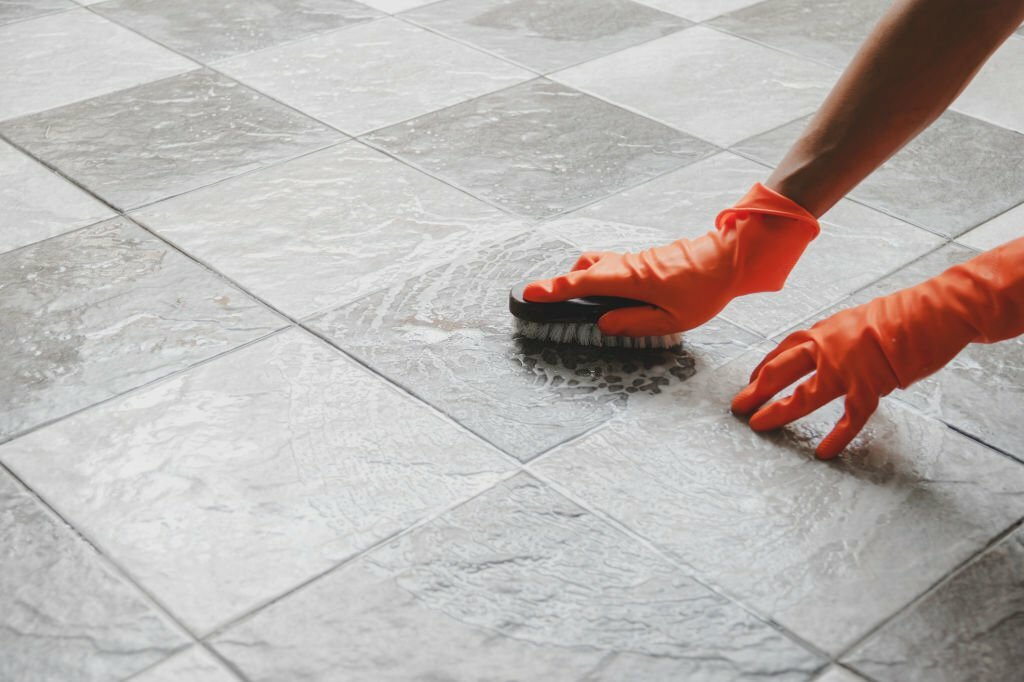
· Use a stiff-bristle brush: This is your best bet for effective scrubbing. Make sure you scrub back and forth for the best results.
- Apply consistent pressure: Be gentle but firm while scrubbing. You don’t want to go overboard and damage the grout or tiles. Just find that sweet spot.
- Work in small sections: Focus on a tiny area at a time to ensure you give it your full attention. It also prevents the cleaning solution from drying up too quickly.
Rinsing and Drying
After you’ve worked your magic on those grout lines, it’s time to rinse and dry the area:
· Rinse thoroughly: Use warm water to rinse any remaining cleaning solution. A sponge or cloth can be a big help in this step.
· Dry it out: Grab a dry, clean cloth or towel to remove leftover moisture from the tiled surface. This step is essential to prevent any remaining water from sneaking into the grout.
Preventive Measures
It is important to try and seal the grout. Grout sealers create protective barriers that make it more resistant to staining.
Then, ensure you include regular maintenance of your tiles in your schedule. Having a routine cleaning schedule is a game-changer. It helps you tackle minor stains and dirt before they become a big headache.
Maintenance and Routine Cleaning
To keep your grout looking fresh and your floors looking fabulous, make sure to establish a routine cleaning schedule:
- Sweep and mop: Regularly sweep to remove loose dirt, and then clean the floor with a solution of warm water and vinegar.
- Quick spot cleaning: Don’t let spills and stains linger. Address them promptly to prevent them from setting in.
In conclusion, maintaining clean grout in your tiles is crucial for keeping your floors looking their absolute best. Armed with the right tools, cleaning supplies, and techniques, you can quickly restore your grout to its original brilliance. By adopting preventive measures and sticking to a regular maintenance schedule, you can enjoy immaculate floors that enhance the beauty of your space.


