Table of Contents
The patio area serves as a central hub for many families, especially during the warmer months. It’s where we spend most of our summer evenings, enjoy leisurely tea times, host barbecue parties, and soak up the sunshine.
Given its importance in our daily lives, the aesthetics and functionality of this space are paramount. A well-designed patio not only enhances the beauty of your outdoor living area but also boosts the overall value of your home.
Recognizing this, many homeowners look to elevate their patios beyond mere functionality, seeking ways to infuse personal style and artistry into the space. This is where the selection and installation of artisan tiles come into play.
Artisan tiles, with their diverse range of designs, colors, and textures, offer an unparalleled opportunity to transform your patio into a visually striking and durable outdoor area.
Whether you’re aiming for a Mediterranean feel, a modern geometric pattern, or a rustic stone appearance, artisan tiles can achieve these looks while withstanding the elements. However, installing these tiles requires thoughtful planning and precision. To ensure a successful enhancement of your patio with artisan tiles, follow these expert tips:
1. Plan Your Design

Measure Precisely: Accurate measurements are crucial. Measure your patio area to determine how many tiles you’ll need. Always buy a few extra tiles to account for cuts and breakages.
2. Choose the Right Tiles
Material: Artisan tiles can be made from various materials, including ceramic, porcelain, and natural stone. Each material brings its unique benefits: ceramic tiles are celebrated for their durability and ease of maintenance, making them perfect for busy outdoor spaces. Just like ceramic artisan kitchen tiles by clé, natural stone also exude unmatched elegance and natural beauty, enhancing the value and appearance of your property. However, they require more diligent maintenance to preserve their look over time.
Consider the Climate: Ensure the tiles you select are suitable for your climate. Tiles for outdoor use should be frost-proof and slip-resistant to withstand weather changes and provide safety when wet.
3. Prepare the Surface
Ensure a Solid Foundation: The durability of your tile installation significantly depends on the underlying surface. For a patio, it’s essential to have a solid and level foundation, usually made of concrete or a material of similar robustness.
Before beginning the installation, ensure the area is thoroughly cleaned, removing all debris or weeds that could interfere with the tiles adhering properly.
4. Install with Care
Apply the Right Adhesive: It’s important to choose a mortar or adhesive that is specifically designed for outdoor applications and compatible with the type of tile you are using. This ensures optimal adhesion and long-term durability of the tile installation.
Mind the Gap: Pay attention to the spacing between tiles. Use spacers to maintain even gaps for grout, which will enhance the overall appearance and aid in drainage.
5. Grouting and Sealing
After laying the tiles and ensuring they are set firmly in place, the next steps are grouting and sealing, which are crucial for finishing the installation and protecting your work.
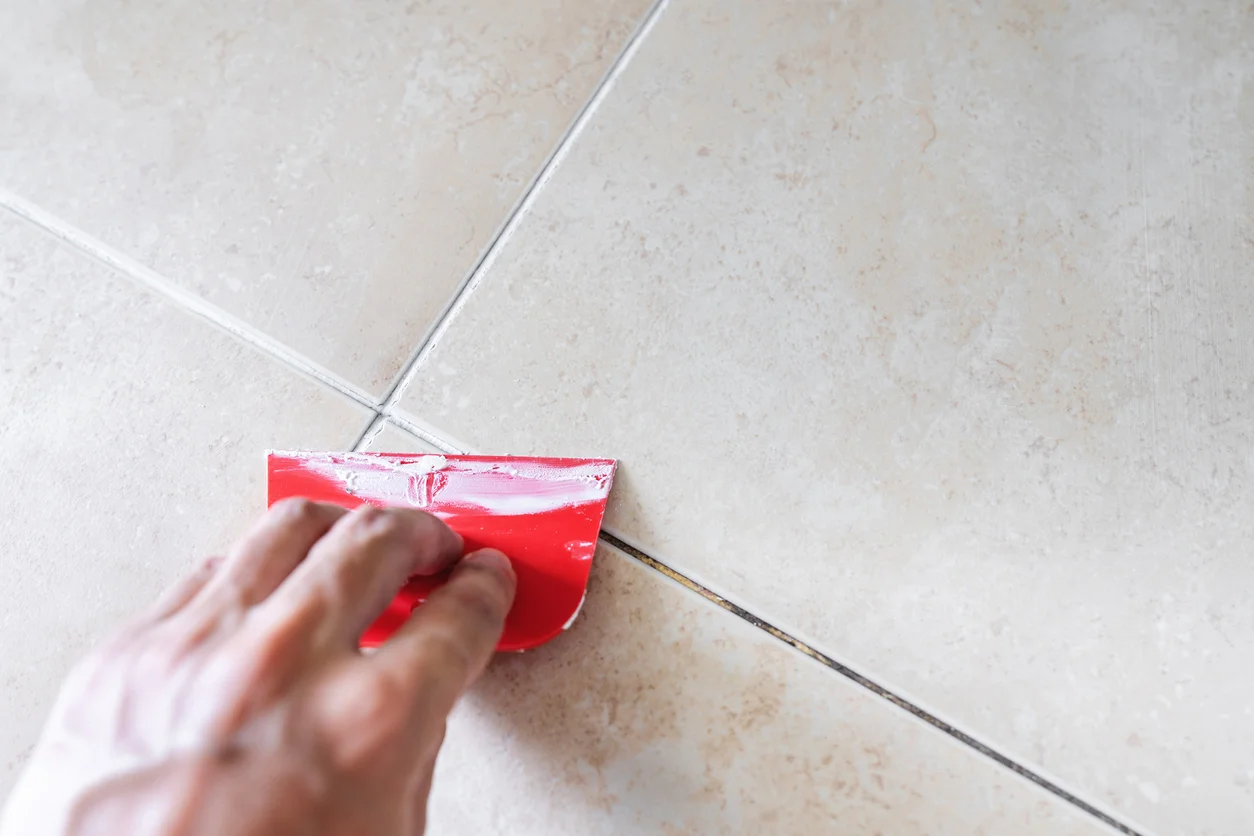
Select a grout type that is suitable for outdoor use and matches your tiles. Sanded grout is often recommended for outdoor tiles due to its durability and ability to fill larger gaps. Follow the manufacturer’s instructions to mix the grout to the right consistency. It should be smooth and easy to spread but not too runny. Use a grout float to press grout into the spaces between the tiles.
Make sure the gaps are completely filled and remove any excess grout from the tile surface as you go. Allow the grout to set according to the manufacturer’s recommended time. Avoid stepping on or disturbing the tiles during this period. Once the grout has started to set but isn’t completely hard, use a damp sponge to clean the residue from the surface of the tiles. Be sure to rinse the sponge frequently to avoid re-depositing grout on the tiles.
Seal for Protection: Especially if you’re using natural stone tiles, sealing is a crucial step. A good sealant protects the tiles from stains, moisture, and weather damage, ensuring your patio remains beautiful for years.
6. Maintenance is Key
Regular Cleaning: Keep your tiled patio clean by sweeping regularly and washing with a mild detergent as needed. For deeper cleaning, use a mild detergent or a cleaner specifically designed for your type of tile. Avoid using harsh chemicals that can damage the tiles or grout.This prevents buildup of dirt and grime, keeping the tiles looking their best.
Periodic Checks: Inspect your tiles and grout lines periodically for signs of wear or damage. Promptly replace cracked tiles and repair grout to maintain the integrity of your patio. Also, If you live in an area with freezing temperatures, ensure that the tile and grout are properly sealed to prevent water absorption and potential frost damage.
Conclusion
Installing artisan tiles on your patio can dramatically transform your outdoor space into a beautiful and functional area for relaxation and entertainment. By carefully planning your design, choosing the right materials, and following these expert installation tips, you’ll create a durable and stunning patio that reflects your personal style and enhances your home’s outdoor appeal. Remember, the key to a successful tile installation lies in preparation, precision, and maintenance.


