Table of Contents

If you’re tired of experiencing drafty rooms, sky-high energy bills, and uncomfortable living spaces, then it might be time to invest in home air sealing. Ineffective air sealing can lead to unwanted outside air entering your home, which is frustrating and expensive.
By taking the DIY approach with home air sealing techniques, you can easily save monthly energy costs while also creating a more comfortable environment for you and your family. In this comprehensive guide, we will discuss everything from identifying where the problem areas are located to product recommendations for effective air-sealing solutions – so get ready to seal off those pesky drafts today.
How to Air Seal Your Home Effectively
Sealing your home properly requires a keen eye for detail and a systematic approach. This step-by-step guide will walk you through the process with practical tips to ensure your home becomes airtight efficiently. Let’s dive into the stages.
Stage 1: Identifying Problem Areas
The first step to effective air sealing is identifying the drafty areas in your home. These are usually found around windows, doors, attic hatches, and electrical outlets. A simple smoke incense stick can help you locate these problem spots. Light the stick and observe where the smoke flows. If it’s being sucked out of or blown into the room, you’ve found a draft.
Stage 2: Choosing the Right Materials
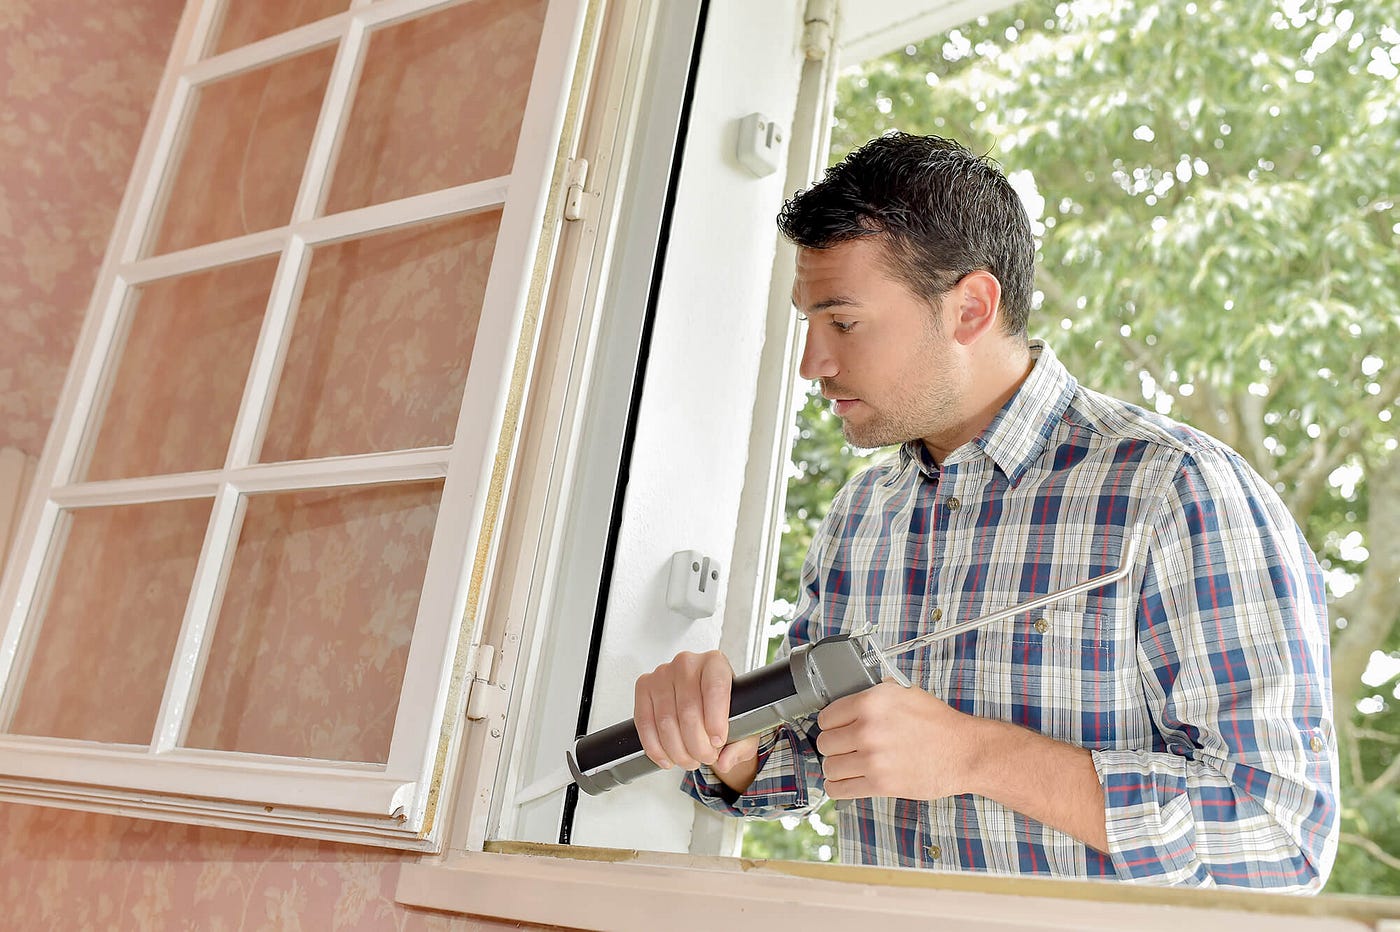
Once you’ve identified the problematic areas, the next step is to choose the right materials to seal off these drafts. Silicone or acrylic latex caulk is excellent for sealing gaps less than 1/4-inch wide, while spray foam is ideal for larger gaps. For windows and doors, weatherstripping is an effective solution.
Stage 3: Applying the Sealant
The application process may vary depending on the type of sealant you’ve chosen. Always follow the manufacturer’s instructions. Apply the sealant smoothly and evenly, filling the entire gap. Make sure to clean the area before application, and allow the sealant ample time to dry.
Stage 4: Checking for Air Leaks
Once the sealant has dried, it’s time to check for any remaining air leaks. Light an incense stick or use a smoke pencil near the sealed areas and observe if there is any movement in the smoke. If there is, simply apply more sealant until the leak is plugged.
Stage 5: Extra Steps for Energy Efficiency
To maximize energy efficiency, consider adding additional insulation in your attic and walls. This will help keep outside air from entering your home, reducing your heating and cooling costs. Adding weatherstripping to exterior doors can also improve energy efficiency.
Tips for Successful Air Sealing
Air sealing your home is an art that requires both precision and knowledge. However, knowing what to do is only half the battle. It’s equally important to know how to do it correctly. In the following sections, we will be sharing some essential strategies to ensure the success of your DIY air sealing project, enabling you to maximize comfort and energy efficiency.
Navigating the Sealant Application
Ensure you use the appropriate amount of sealant, not too little that it doesn’t fill the gap entirely and not too much that it overflows onto the surrounding surfaces. Remember, the goal is to create an airtight seal, and excess sealant can make a mess without improving the seal.
Weatherstripping Selection
When it comes to weatherstripping, there are several varieties available, each suitable for specific areas in your home. V-strip (or tension seal), for example, is perfect for the sides of double-hung or sliding windows, while door sweeps are ideal for the bottom of doors. Make sure to choose the right type for each application.
Regular Maintenance
Just like any other part of your home, the sealants and weatherstripping require maintenance. Over time, they can deteriorate or become loose, causing new air leaks. Regular check-ups every few months can help spot these issues early and correct them promptly.
Professional Assessment
If you’re unsure about the effectiveness of your DIY project, consider getting a professional energy audit. The audit includes a blower door test that can objectively measure the air tightness of your home, giving you a clearer idea of your project’s success.
Eco-friendly Solutions
Consider using eco-friendly sealants and insulation materials. These options are not only good for the environment, but they can also improve the overall air quality inside your home. Remember, every step taken toward sustainability counts!
Hiring an Insulation Expert
If you’re not confident in your DIY skills, don’t hesitate to hire a professional insulation expert. They have the knowledge, experience, and equipment to ensure your home is properly sealed and energy-efficient. Contact them here to schedule your free consultation.
FAQ
What is the best air sealing technique?
The best air sealing technique depends on the specific problem areas in your home. Generally, a combination of caulk, spray foam, and weatherstripping is most effective for creating an airtight seal.
How often should I check my sealed areas for air leaks?
It’s recommended to check for air leaks every few months or after any major changes or renovations to your home. This will ensure that any new leaks are caught and sealed promptly.
Can I use eco-friendly materials for air sealing?
Yes, there are many eco-friendly options available for caulk, spray foam, and weatherstripping. These options not only contribute to a healthier environment but can also improve indoor air quality.
What is the best material for air tightness?
Typically, spray foam is the best material for achieving air tightness. However, it’s important to choose the right type and apply it correctly to ensure maximum effectiveness. Consult a professional insulation expert for specific recommendations for your home.
Final Thoughts
Overall, thorough planning, careful execution, and regular maintenance are key to effectively sealing your home and improving its energy efficiency. With these strategies in mind, you can confidently embark on your DIY air sealing project and enjoy a more comfortable, eco-friendly home. Remember to always prioritize safety and follow the manufacturer’s instructions for all materials used.


