Table of Contents

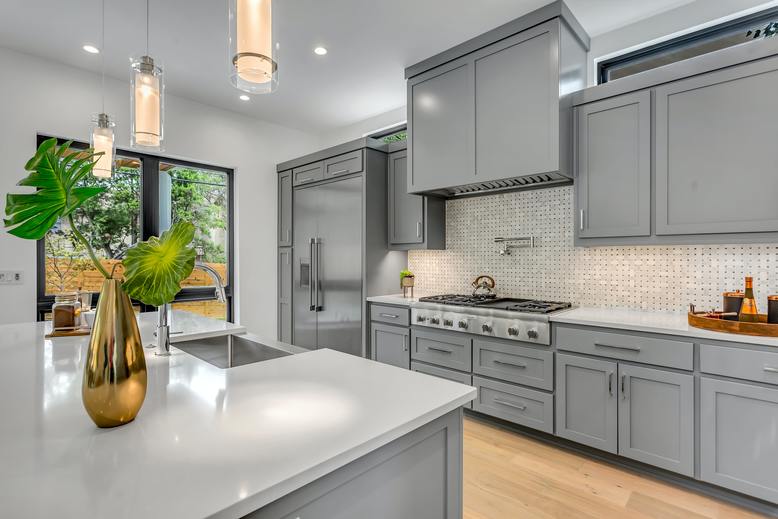
Recently, a new tenant moved into our neighborhood. She has been having issues with the house’s interior paintings. She claims the colors are not to her taste, and the painter did shoddy work, mostly in the kitchen area. She then decided to start by redesigning her kitchen.
It’s simpler than you would imagine painting kitchen cabinets. Although hiring a professional team is always a great choice, you can also DIY your painted kitchen cabinets with simple steps and some hard work. The following is a procedure to follow when painting your kitchen cabinet.
Prime the Cabinets
Based on the kind of paint you intend to use, start by selecting a latex- or oil-based primer. Using a brush and roller, apply a thin, equal primer coating to the cabinetry. Before using 220-grit sandpaper to sand the surface gently, let the primer dry thoroughly.
After making sure the cabinets are clean of dust and debris, use a vacuum and a cloth. Apply another coat of primer to the surfaces, particularly to areas where the base stains. Before sanding the surface once more, this time with a finer 280-grit pick, let the second coat of primer entirely dry. The surface should be cleaned and then put away.
Paint the Cabinets and Boxes
Once your primer has dried, it’s time to apply your selected color. Apply a light, equal layer of paint to each item using a brush and foam roller. Feathering out the edges is essential. The extra paint puddles or drips should always be quickly cleaned up. Remember to cover areas where the primer is still visible with your subsequent coat.
To create a clean and flawless finish, it’s a good idea to sand the surface between coats of paint lightly. A fresh towel thoroughly wipes the cabinets, removing any extra dust. The second coat of paint can be applied the same way as the first, focusing on a uniform and even finishing.
Allow Painted Cabinets to Dry Completely
Give your cabinets at least 24 hours, and if possible, additional time to dry thoroughly. Even though they’ll be touch-dry in just a few hours, it’s crucial to wait until the paint has thoroughly dried before restoring the cabinet fronts and fastening the hardware back on.
Reassemble Your Cabinetry
You can finally reassemble your kitchen once you are sure the paint’s surface is no longer tacky. Make your space suitable for cooking by replacing the drawer fronts and attaching hardware. To give the paint more time to cure, it’s generally a good idea to wait at least three weeks before scrubbing your cabinets.
Clean it immediately with warm water and a paper towel if you spill oil or spaghetti sauce on your freshly painted cabinets. You’re done! Enjoy your colorful new kitchen while pouring your favorite beverage and putting on a big pasta pot.
Factors to Consider When Choosing Color Paints
The most challenging task in interior painting is selecting the paint color. Enhance your interior décor outlook by interior painting, paint kitchen cabinets, and. Pick the correct paint and primer to give your kitchen cabinets a high-quality finish without going over budget. The following are tips for choosing the best colours for your cabinets.
- The cost of the paint
- Consider the room wall paintings
- Try out the newest colour trend for cabinets
- Use Your Favorite Color to Experiment
- Let your decorating style be your guide
- Consult a colour psychologist
Conclusion
In summary, a well-designed kitchen provides your interior décor with a luxurious, contemporary appearance. Both amateurs and professionals can do it with ease. Follow the outlined instructions to give your kitchen a fresh, pleasing appearance.


