Table of Contents

A leaky faucet in a kitchen or bathroom is a nuisance and comes at a cost. You’re paying for every drop that comes out of the faucet. Over the course of a day, it adds up from cents to dollars. Eventually, you’ll end up with an unreasonable utility bill that could have been avoided. The good news is that leaky faucets are very common and a relatively easy fix, assuming you can diagnose where and what the issue is.
A lot of people can handle this job themselves, although you can also call a plumber for help. A lot of people call plumbers for leaky faucets. If you’ve exhausted all these possibilities and still aren’t able to identify what your faucet is leaking, a plumber will certainly be able to tell you. They are also able to help you install a new faucet, if that’s a consideration.
Either way, prompt action is the best way to get the leaky faucet fixed. Here is a detailed guide on how you can repair that leaky faucet in your home:
Before the Repair
If you don’t already have the right tools, visit your local hardware store and pick some up. To fix a leaky faucet, you will need a crescent wrench, a faucet wrench, plumber’s tape, and a light source, such as a flashlight. You will be working under the sink and will want as much light as you can get.
For some of these repairs, you may want to turn off your water. You can do this at the sink. The shutoff valves are located underneath. They are often two – one for ‘hot’ and the other ‘cold’. Most of the time, they are against the wall under the sink basin. Turning them clockwise will cut water to the faucet line and allow you to do some of the more extensive repairs that could be required.
Check for Leaks Underneath
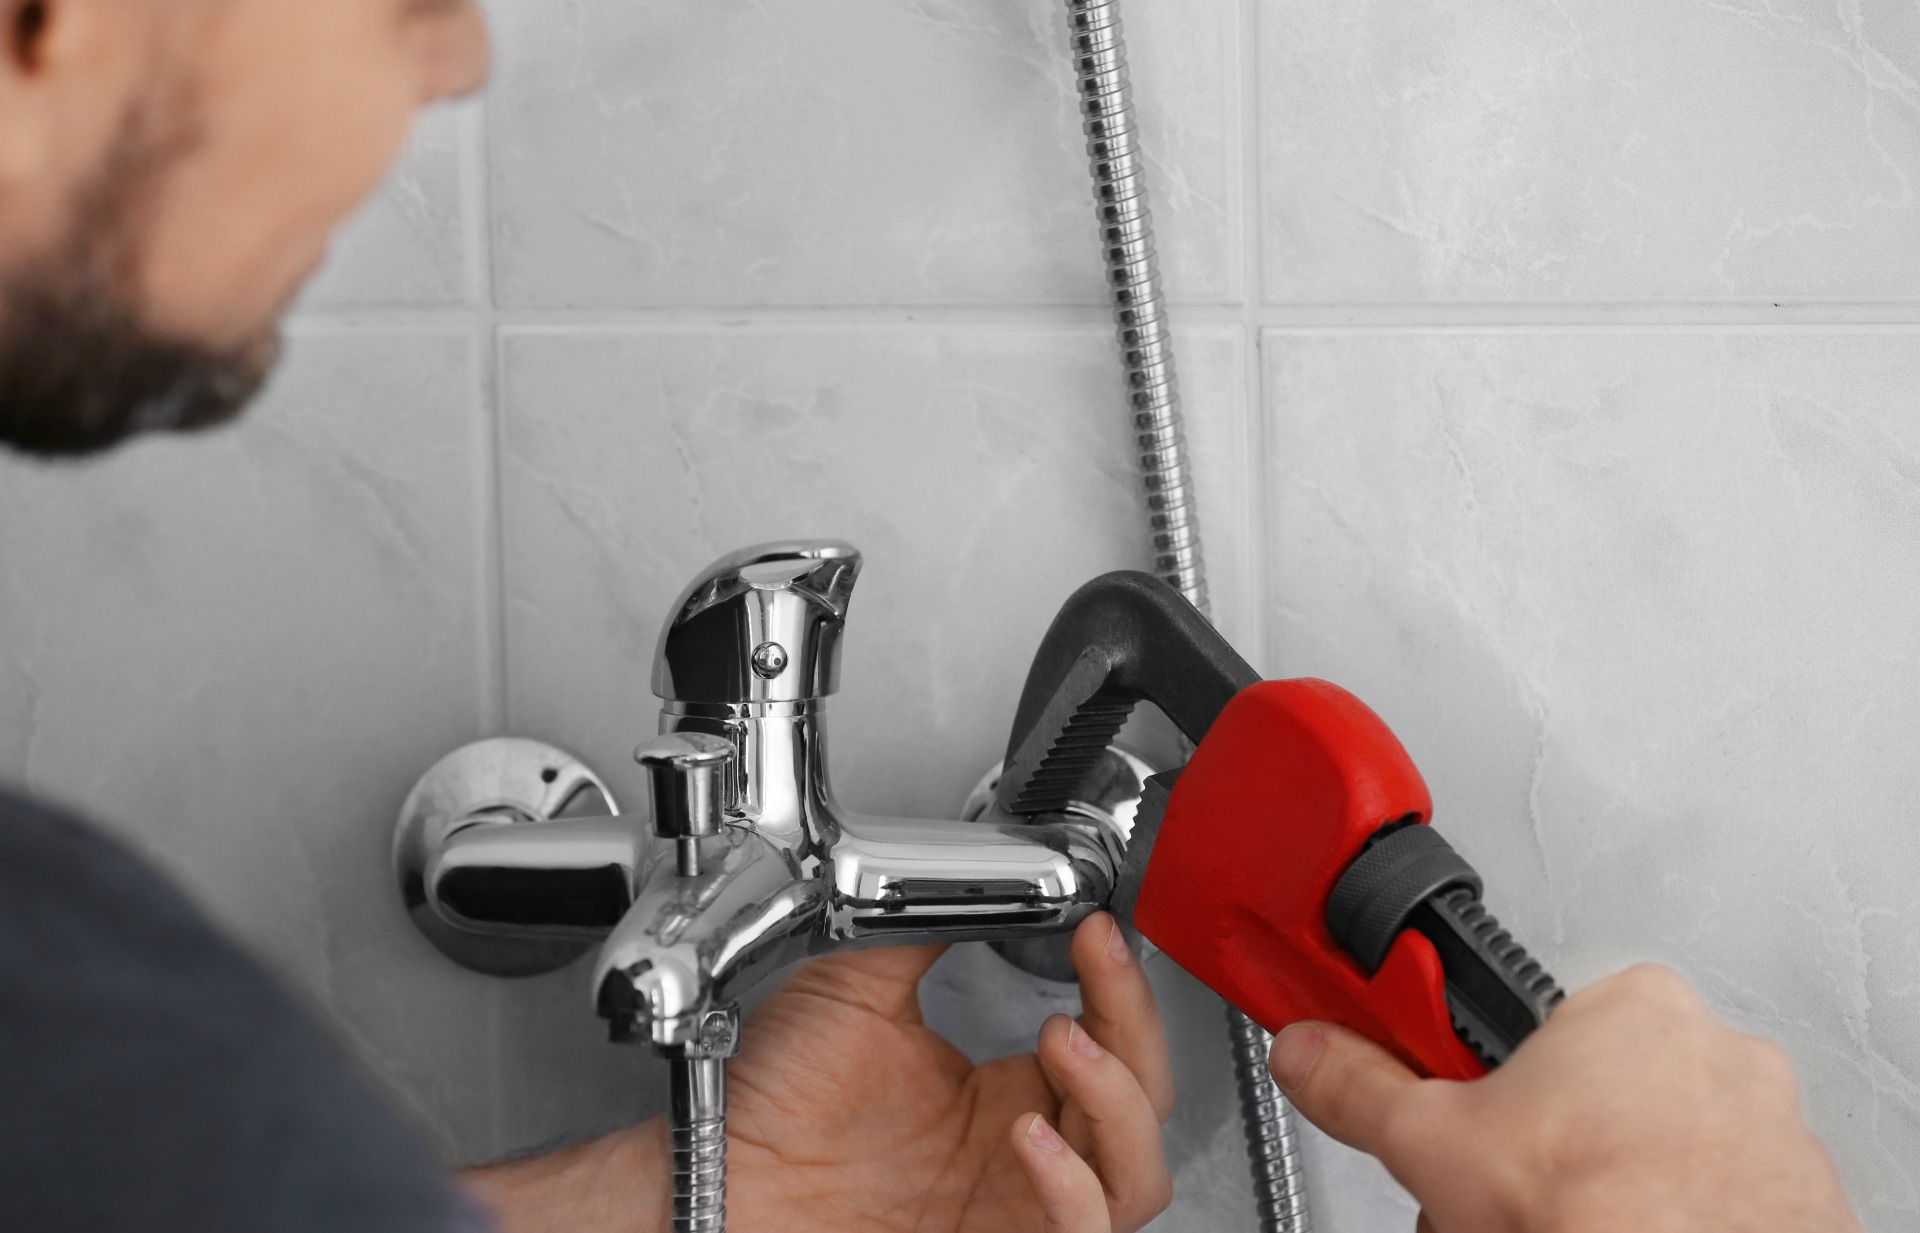
Turn on the tap to a low stream. Look under the sink to see if there is any leaking. If you see any moisture, see if there’s any hardware there to tighten. What holds the hoses together can sometimes loosen. Place your wrench around the connection point and turn to the right. This is somewhere logical to start in examining faucet problems, as it may fully or partially resolve a leak.
Look for any areas that are displaying signs of corrosion, cracks, or wear-and-tear. Hoses should also be in good shape. Faucet pieces are very easy and affordable to replace so long as you purchase the right one. If you’re going to the hardware store, bring what you’re replacing to ensure what you buy matches it. There are different types of faucets, each with a unique size and design.
Replace the Faucet Handle
There are different faucet types. If there is a set screw behind the handle to remove the faucet handle, you will need a hex key or Allen wrench to turn it. If there is a top screw cover, you can use a flat screwdriver to pry it off. Afterwards, you can use a Phillips head screwdriver to loosen what’s underneath.
Replace the O-Ring
A faucet is held in place by a stem screw. On the stem screw is a small oval disc, aka the ‘O-ring’. This is where a lot of dropping can occur as the O-ring might gradually loosen or wear down in time. This wouldn’t have been anything you did but is just regular wear-and-tear. When you replace the O-ring, if this is the source of the leak, this should completely resolve the issue.
Examine the Valve Seat
The valve seat is where the faucet and the spout meet in the compression mechanism. Water sediment can accumulate here and cause corrosion. A valve seat isn’t where a lot of people normally think to check for a leak, but they can be fairly common. It is recommended to have a plumber clean the valve seat semi-regularly to keep a faucet in tip-top shape though few households do.
After you’ve fixed your leaky faucet, run the water and double-check. If anything resembles a leak, tighten all the connections again. Don’t be hesitant to add thread seal if the connection feels a little loose. Your sink and faucet should be fully dry when the water isn’t running. A lot of these leaky faucet fixes are all about tightening and replacing parts that have worn down.
Replace the Washer
Another very common reason why you have a leaky faucet is a worn-out washer. The washer is forced against the valve seat on every push of water. This is friction. Eventually, the material naturally wears down and with that, you have dripping around the spout. The solution is simple. Replace the washer.
If this is a fairly new faucet and you have a leak, it may just be from a washer that’s improperly sized or incorrectly installed. This can sometimes occur with DIY faucet installations. In cases like these, you can try to re-install the washer and see what you get or verify it’s the correct size according to what your hardware needs.


